Vocabularies
Manage the lookup lists that power dropdowns across Smileline.
By the end of this page you'll know how to add, rename, reorder, archive and restore entries in Smileline's lookup lists — and where each list is used.
The lists
Each list has its own page under Settings, and they all work the same way:
| List | Where it's used |
|---|---|
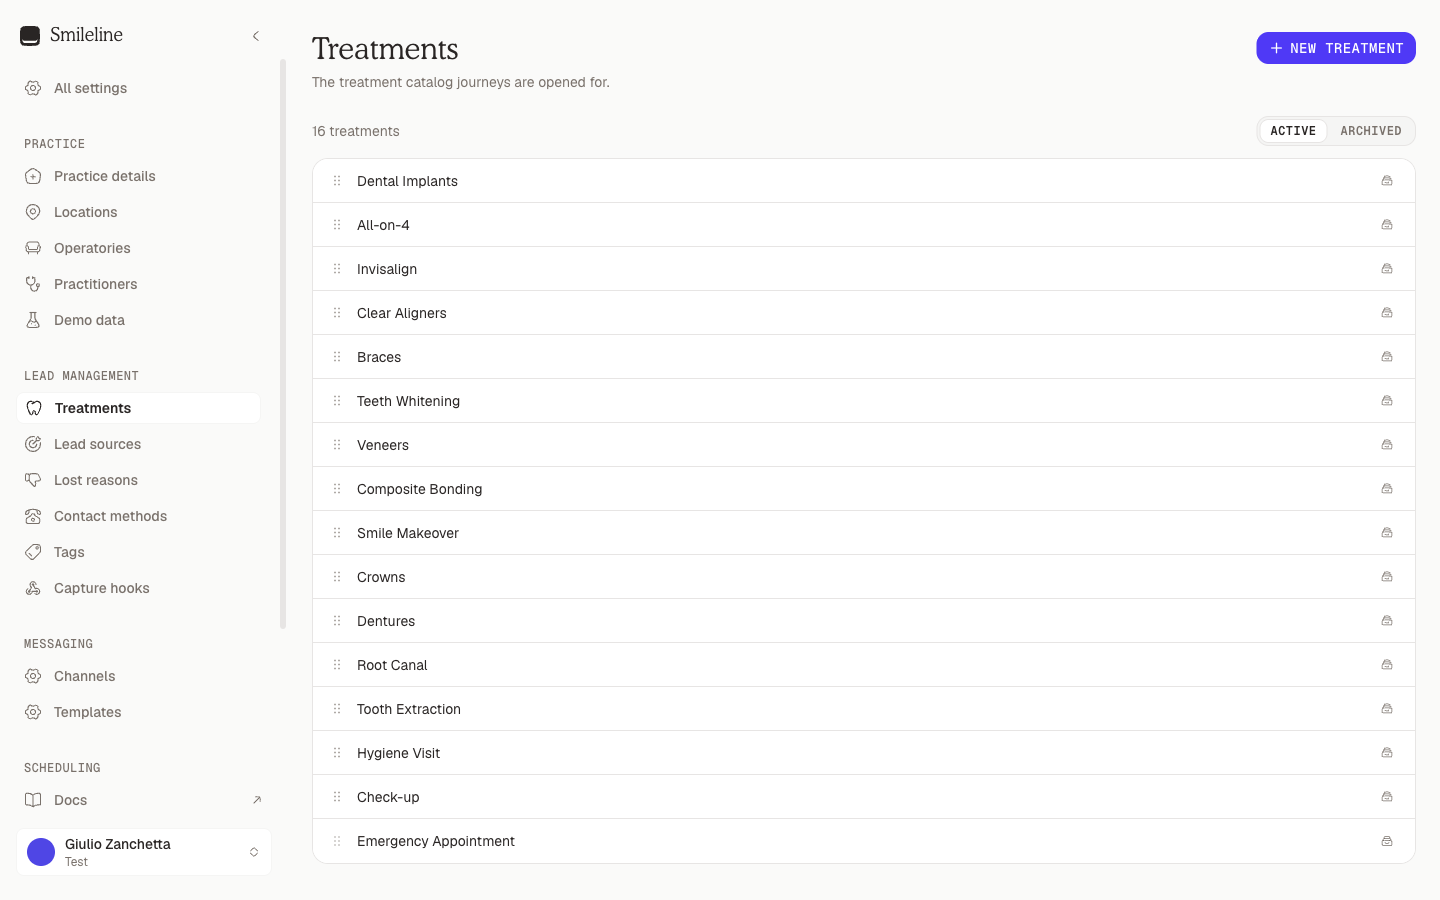
| Treatments | The treatment catalogue journeys are opened for; website forms need a default treatment. Default duration (min) is how long a consultation for it takes — the length of the free slots Today's booked step offers (45 minutes when empty and no appointment type defaults to this treatment). Consultation practitioners is who takes those consultations; none ticked means everyone at the site |
| Lead sources | Where enquiries come from — stamped on new leads and feeding attribution. Smileline adds one automatically when a lead arrives with a utm_source or ad click id that matches nothing in the list (up to 50 active sources) |
| Not-proceeding reasons | Picked when a journey closes without treatment; drives the Not proceeding report |
| Cancellation reasons | Picked when an appointment is cancelled. Who cancels says whether the reason means the patient or the practice ("Clinician unavailable" is the practice); a cancellation records it, and only the patient's count on To do's Missed, not rebooked list |
| Contact methods | How the team reaches leads — offered by the Today page's contact wizard |
| Tags | Free-form segmentation for patients — filter and bulk-tag from the patients list. Give a tag a Colour and tick Show on the diary to make it a patient flag: it shows on the patient's diary cards, visit panel and clinical record |
| Appointment labels | Your own statuses, such as "Left message", "Confirmed by phone" or "Running late". Each has a Colour and, under Shows while, the one status it shows during (booked, confirmed, arrived or in the chair), or none for always. Set one per appointment from the visit panel; it shows beside Smileline's status on the diary and never changes anything else |
| Appointment types | Visit types used when booking appointments. Each has a Default duration (min) the diary books it at, a Diary colour that fills its appointments (the clinical diary colours by appointment type unless you pick another option under View) and may carry a description shown on the online booking page |
Only owners and admins can change these lists. Members see them read-only.
Appointment types start with eighteen researched defaults — from a 45-minute new patient examination to a 15-minute review — each with a diary colour, a duration, its online-booking and confirmation rules and the CRM treatment it books. After that the list is yours to rename, extend or archive; see Clinical catalogue.
General enquiry joins Treatments by itself the first time a lead form lead arrives without a treatment: the lead opens on it rather than waiting as an enquiry. You can rename it; if you archive it, the next such lead brings it back.
Add an entry
Open the list under Settings — for example Settings → Treatments.
Click New treatment (the button is named after the list you're on).
Type the Name and confirm — that's the whole form. Appointment types also take an optional Description (up to 2,000 characters) that patients read on the online booking page; edit it any time from the pencil on the row.
The new entry is available in its dropdowns immediately.
Rename an entry
Click the entry's name (or the pencil icon that appears on hover), edit it, and press Enter. Press Escape to cancel. The new name shows everywhere the entry is used — including on existing records.
Reorder a list
Drag the grip handle at the left of a row to move it. The order you set here is the order dropdowns show across the app, so put the common picks on top. The handle also works from the keyboard: focus it, press Space, move with the arrow keys.
Practitioners are the one list without manual ordering — they always sort alphabetically. See Practitioners.
Archive and restore
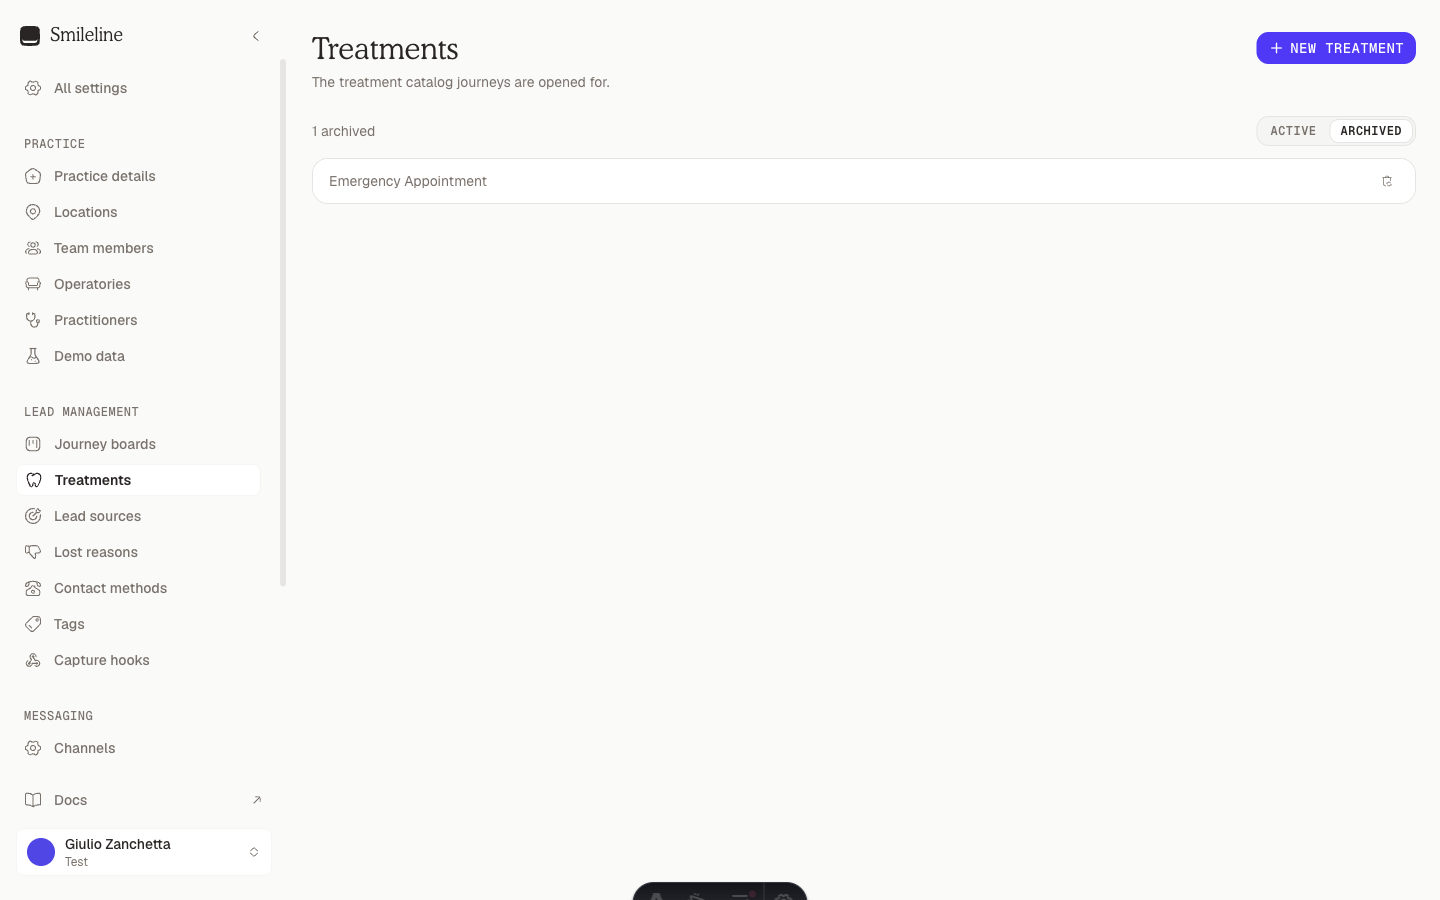
Never delete-and-retype: archive instead. Archiving hides an entry from every picker while existing records keep it, so history and reports stay intact.
- Archive: click the archive icon on the row. The confirmation toast offers Undo for a few seconds.
- Restore: switch the view toggle above the list from Active to Archived, then click the restore icon on the row.
Smileline won't archive a treatment, lead source or appointment type while active work still needs it. Resolve the item named in the error first. This includes active journeys, unfinished appointments and enabled capture, booking, automation, referral or lead-ad defaults. Closed journeys, completed or cancelled appointments, and other historical records don't block an archive.
Call-back rhythm
The Call-back rhythm card at the top of Settings → Not-proceeding reasons sets how Smileline chases a lead nobody has reached:
- Calls a day — how many tries a day, from 1 to 5; the default is 3. Smileline spreads them through each location's opening hours and books each next try itself when someone logs No answer, I sent a message or They didn't turn up (see When the next call is).
- Tries before giving up — how many tries in all, from 1 to 50; the default is 9, three a day for three days. The card shows roughly how many days of calls that makes.
Click Save. The last unanswered try closes the lead as not proceeding with the reason Unable to contact (the last try). Before it, giving up on a lead in Today and archiving a lead ask for a written reason first, and the attempt dots on a Today card count up to it (up to ten dots; above that the card shows the count alone).
Only owners and managers can change the rhythm. Type "attempts" or "give up" in Settings search or the command palette to find the card. Teammates who already have the app open pick up the new numbers the next time a page loads.
Default not-proceeding reasons
Every practice starts with these not-proceeding reasons, in this order:
- Too expensive
- Failed credit check
- Chose another practice
- Timing not right
- Practice too far away
- Unsuitable for treatment
- Only wanted NHS treatment (UK practices only)
- Say they never made an enquiry
- Duplicate or spam
- Other
- Unable to contact
Say they never made an enquiry and Duplicate or spam are set to Marks as junk: a lead closed with one of them is never reported back to your ad platforms. Untick Marks as junk on a reason to change that.
Other needs a note: closing a lead with it asks for the Team note first, so the team knows what "other" meant. Renaming it keeps that rule.
Unable to contact is the reason Smileline records by itself when someone gives up on a lead nobody reached. It is never offered after We spoke. You can rename it. If you archive it, the next give-up restores it.
Practices that were using an earlier list were moved to this one:
- Reasons you added yourself stay, listed after the defaults. A reason already named like one of the defaults becomes that default.
- No longer interested (6 October 2026), Objected to consult fee and Invalid details (12 October 2026) were archived. Leads already closed with them keep them.
Sales pitches
Settings → Treatments carries one thing the other lists don't: the sales pitch your team reads on a call. It comes in two halves, and the lead's Pitch card shows them together.
- The Practice pitch, in the card above the list, is what's true on every call whatever the treatment — how you open, what you charge for a consultation, the objections that come up every time.
- Each treatment then has its own pitch, on the row: click Pitch (or Add pitch if nothing's written yet), write it and click Save.
Both use the same editor: bold, italic, a heading, bullet and numbered lists, links, and images from your practice's image library — the same library the email editor uses, so a photo you've already uploaded is one click away.
Everyone who can work the queue can read a pitch. Writing one needs settings access, the same as the rest of this page.
A treatment keeps its pitch when you archive it, so a journey opened before you retired the treatment still shows the right thing on the call.